
Red Velvet Cookies
Share
Clic here for full reel tutorial
receta en español abajo
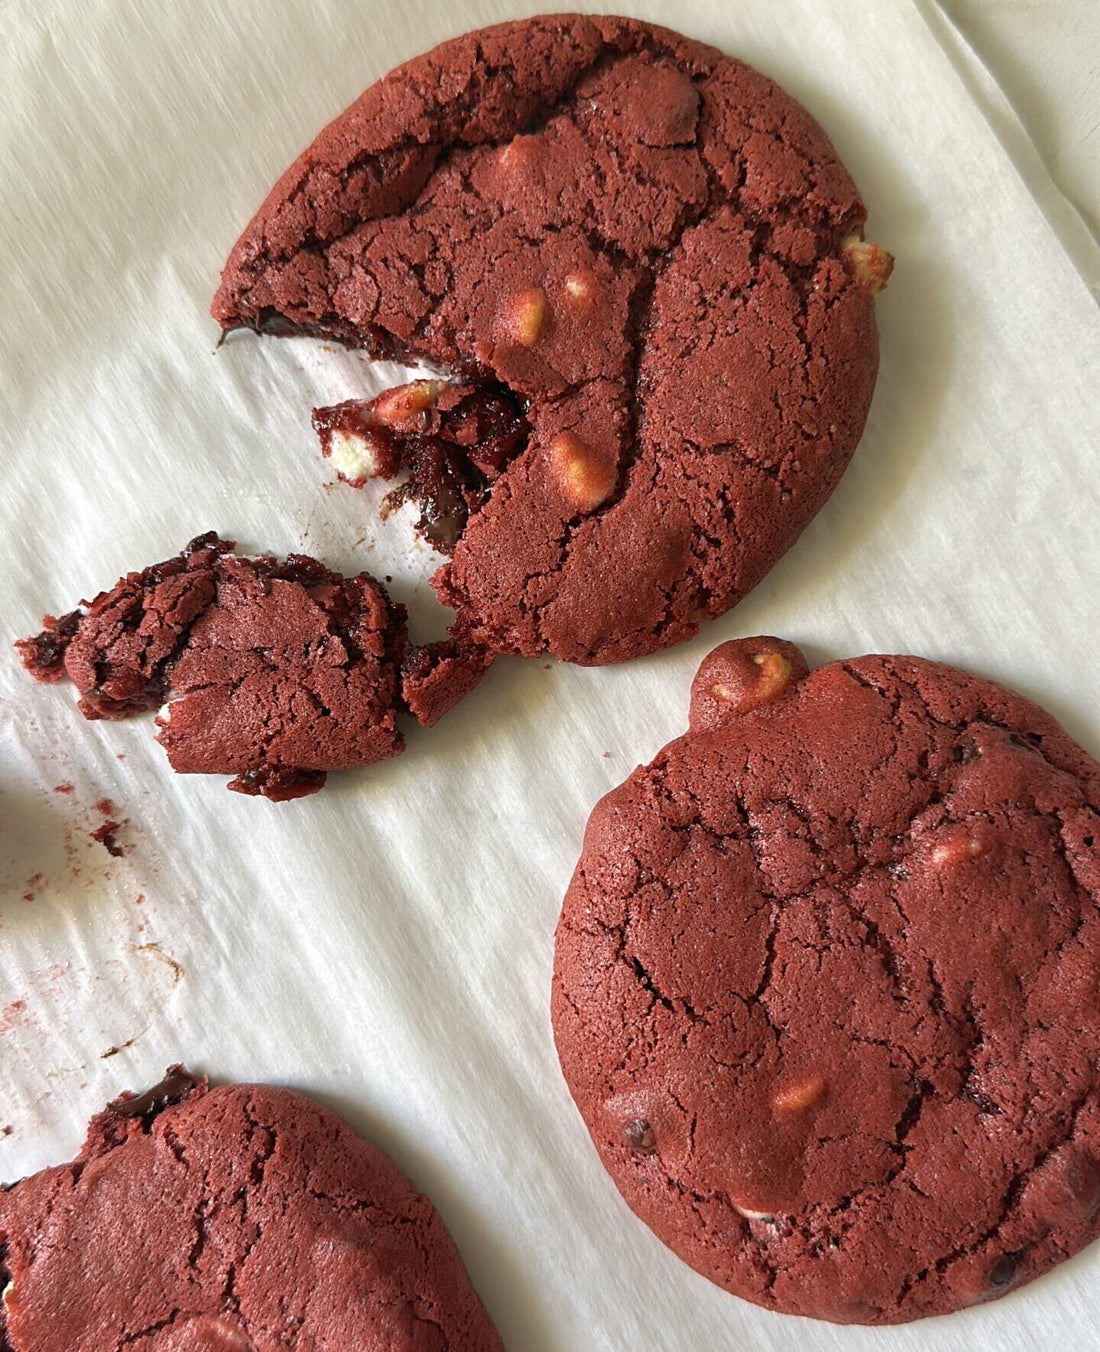
Red velvet cookies with Chocolate Chips
Yield: 12–16 cookies | Prep Time: 15 minutes | Bake Time: 8–10 minutes | Difficulty: Easy
Ingredients:
- 2 eggs
- 1 cup muscovado sugar
- 1/2 cup white sugar
- 1 cup oil or melted butter
- A pinch of salt
- 1 tsp baking powder
- 1 tsp baking soda
- 3 tbsp unsweetened cocoa powder
- Red food coloring
- 2 cups all-purpose flour
- 2 cups white and dark chocolate chips
Instructions:
-
Mix the Wet Ingredients:
In a large bowl, beat the eggs with the sugars (muscovado and white), oil (or melted butter), and a pinch of salt. If you’re using red food coloring, add it at this stage to give the dough a vibrant color. Make sure everything is well combined. -
Add the Dry Ingredients:
Stir in the baking powder, baking soda, cocoa powder, and flour. Mix well until the dough is smooth and free of lumps. -
Chill the Dough:
Cover the bowl with plastic wrap and place the dough in the freezer for 30 minutes. This step helps the cookies keep their shape while baking. -
Preheat the Oven:
While the dough chills, preheat your oven to 190°C (380°F). -
Form the Cookies:
Using an ice cream scoop or a regular spoon, form small dough balls and place them on a baking sheet lined with parchment paper. Leave 2–3 inches of space between each cookie, as the dough will spread as it bakes. -
Bake:
Bake the cookies for 8–10 minutes, or until the edges are golden. Keep in mind that they will continue to cook slightly after coming out of the oven. -
Cool:
Let the cookies cool on the baking sheet for a few minutes before transferring them to a wire rack to cool completely.
Muffin Alternative:
If you prefer to make muffins with the same dough, simply spoon the mixture into muffin tins and bake for about 25 minutes at the same temperature. They’ll turn out fluffy and delicious!
Tips:
- Perfect Texture: To get cookies that are soft on the inside and crispy on the outside, be careful not to overbake them. They’re done when the edges are golden.
- Customization: You can adjust the food coloring for a different look, or add nuts, dried fruits, or extra chocolate chips if you like.
These Cookies are a real treat, with a special touch from the cocoa powder and vibrant color. They’re super easy to make and perfect for any occasion!
>>>>>>>>>>>>>>>>>>>>>>>>>>>>>>
Galletas red velvet
Porciones: 12–16 galletas | Tiempo de Preparación: 15 minutos | Tiempo de Horneado: 8–10 minutos | Dificultad:Fácil
Ingredientes:
- 2 huevos
- 1 taza de azúcar mascabo
- 1/2 taza de azúcar blanca
- 1 taza de aceite o manteca derretida
- Una pizca de sal
- 1 cucharadita de polvo de hornear
- 1 cucharadita de bicarbonato de sodio
- 3 cucharadas colmadas de cacao amargo
- Colorante rojo (al gusto)
- 2 tazas de harina 0000
- 2 tazas de chips de chocolate blanco y negro
Instrucciones:
-
Mezclar los Ingredientes Líquidos:
En un bol grande, bate los huevos junto con los azúcares (mascabo y blanco), el aceite (o manteca derretida) y una pizca de sal. Si decides usar colorante rojo, añádelo en este paso para darle un toque vibrante a la mezcla. ¡Asegúrate de que todo esté bien integrado! -
Agregar los Ingredientes Secos:
Incorpora el polvo de hornear, bicarbonato de sodio, cacao amargo y la harina. Mezcla bien hasta obtener una masa homogénea y sin grumos. -
Refrigerar la Masa:
Cubre el bol con plástico adherente y lleva la mezcla al congelador por 30 minutos. Este paso ayuda a que las galletas mantengan su forma al hornearse. -
Precalentar el Horno:
Mientras la masa se enfría, precalienta el horno a 190°C (380°F). -
Formar las Galletas:
Usando una cuchara para helado o una cuchara normal, forma bolitas de masa y colócalas en una bandeja para hornear forrada con papel manteca. Deja 2–3 dedos de espacio entre cada galleta, ya que la masa se expandirá al hornearse. -
Hornear:
Hornea las galletas durante 8–10 minutos o hasta que los bordes estén dorados. ¡Recuerda que se seguirán cocinando un poco al salir del horno! -
Dejar Enfriar:
Saca las galletas del horno y deja enfriar en la bandeja durante unos minutos antes de transferirlas a una rejilla para que se enfríen completamente.
Alternativa de Muffins:
Si prefieres hacer muffins con la misma mezcla, simplemente coloca la masa en moldes para muffins y hornea durante unos 25 minutos a la misma temperatura. ¡Quedarán esponjosos y deliciosos!
Consejos:
- Textura Perfecta: La clave para obtener galletas suaves por dentro y crujientes por fuera es asegurarse de no hornearlas en exceso. ¡Estén listas cuando los bordes estén dorados!
- Personaliza: Puedes variar el colorante para darle un toque diferente, o agregar nueces, frutos secos o más chips de chocolate si lo prefieres.
Estas Galletas son un verdadero deleite, con un toque especial gracias al cacao amargo y el color vibrante. ¡Súper fáciles de hacer y perfectas para cualquier ocasión!
About Me

Hi, I’m Jaia Kiesel
A passionate baker who become a baker by mistake, i was planning to become a fashion designer but craving s for homemade sweets won my heart!
Follow & Subscribe

Get our best recipes & expert tips right into your inbox!
Join over 10k subscribers
Unsubscribe anytime you want.